Security
Single Sign-On (SSO) allows users to sign in using an external identity provider such as Azure Active Directory.
Configure SSO
Enabling/Disabling SSO
1 Select Admin from the navigation menu.
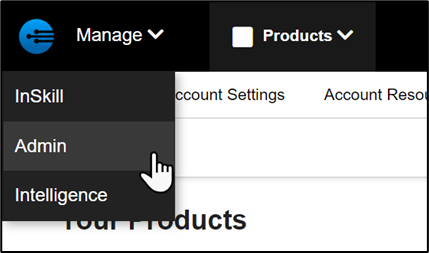
2 Click on the Security tab

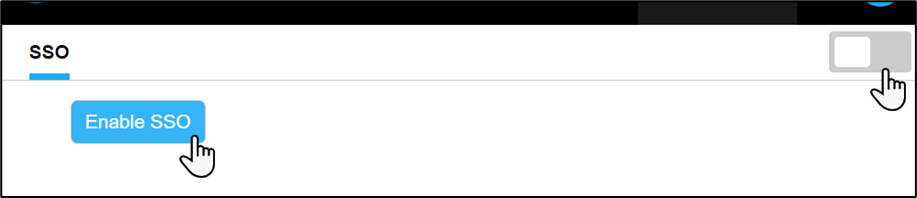
3 In the SSO tab, enable SSO by clicking Enable SSO or by using the toggle in the top-right corner.
Configurable Options
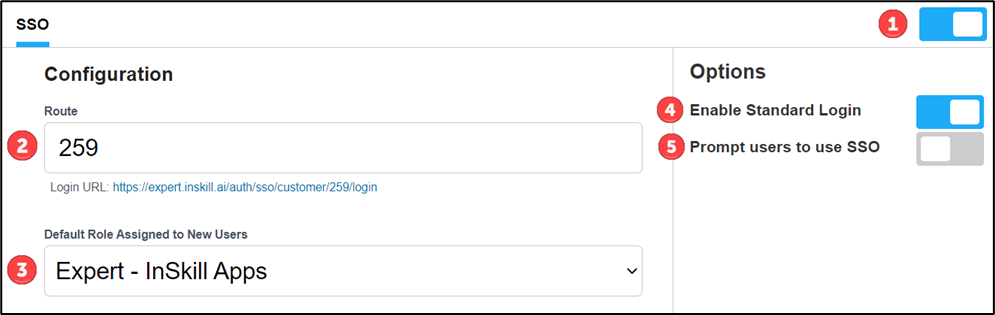
1 - Enable or disable SSO. Existing providers & configuration settings will be preserved but disabled.
2 - Route — your organization's dedicated SSO login page.
3 - Default Role — the role assigned to new users created when signing in with SSO.
4 - Enable Standard Login — allows users to continue signing in with a username and password in addition to SSO.
5 - Prompt users to use SSO — optionally prompt existing users to switch to SSO when signing in.
Add an Identity Provider
Click New provider

Azure
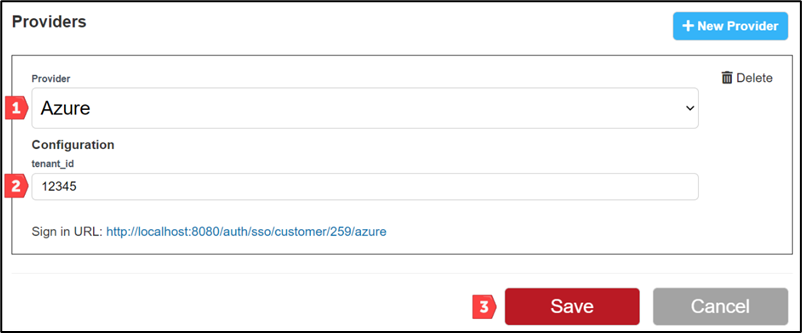
1 Select Azure from the list of providers.
2 Enter your organization's Tenant ID.
3 Click Save.
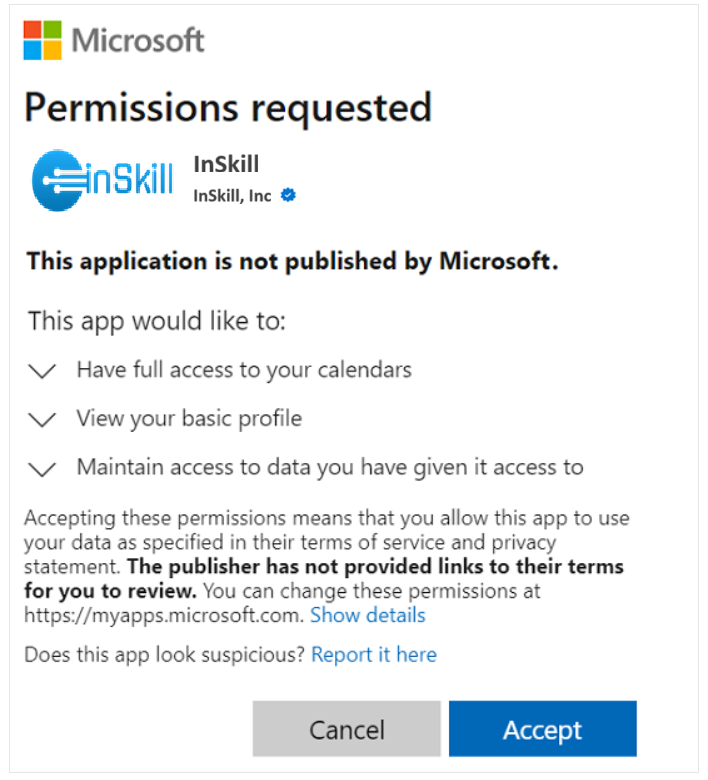
Note: The first time a user signs in with Azure SSO, they may be prompted to grant application permissions. Depending on your organization's IT policies, this may require approval from an administrator.
Using SSO (Web)
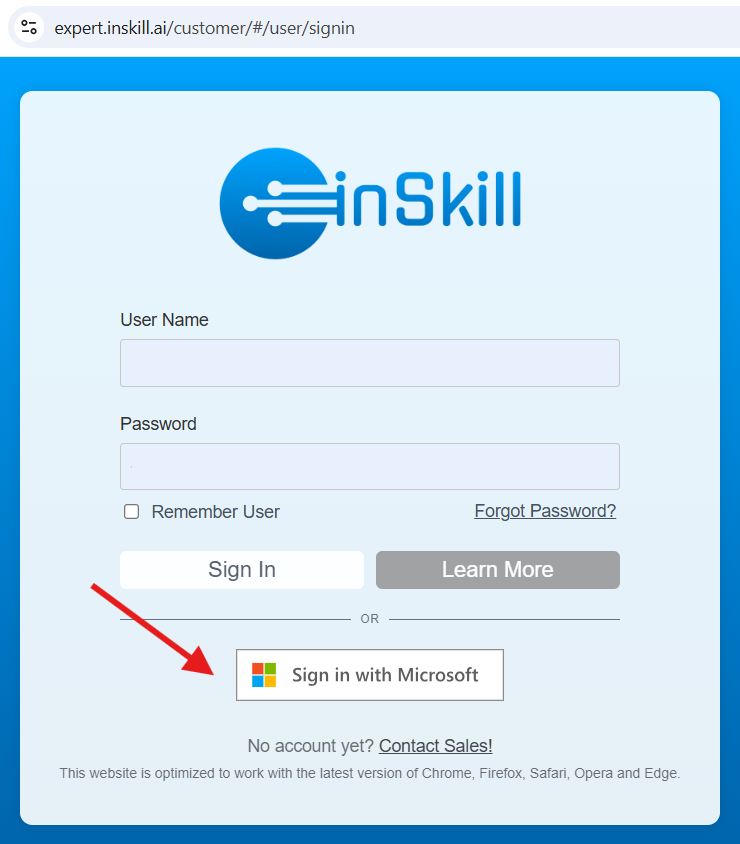
Login with SSO
Migrating Existing Users
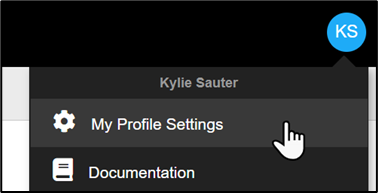
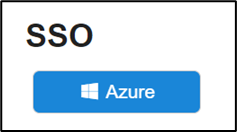
1 Go to My Profile Settings and scroll to the SSO section.
2 Click Link to connect your existing account with your SSO identity.
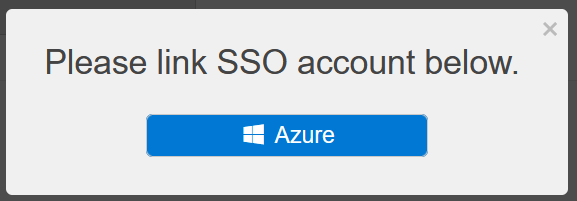
"Prompt Users to use SSO" option enabled
When this option is enabled, users will see a notice after signing in prompting them to link their account with SSO.
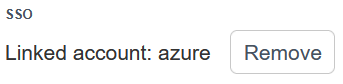
Unlinking SSO
To unlink an SSO account, go to My Profile Settings and click Remove in the SSO section.
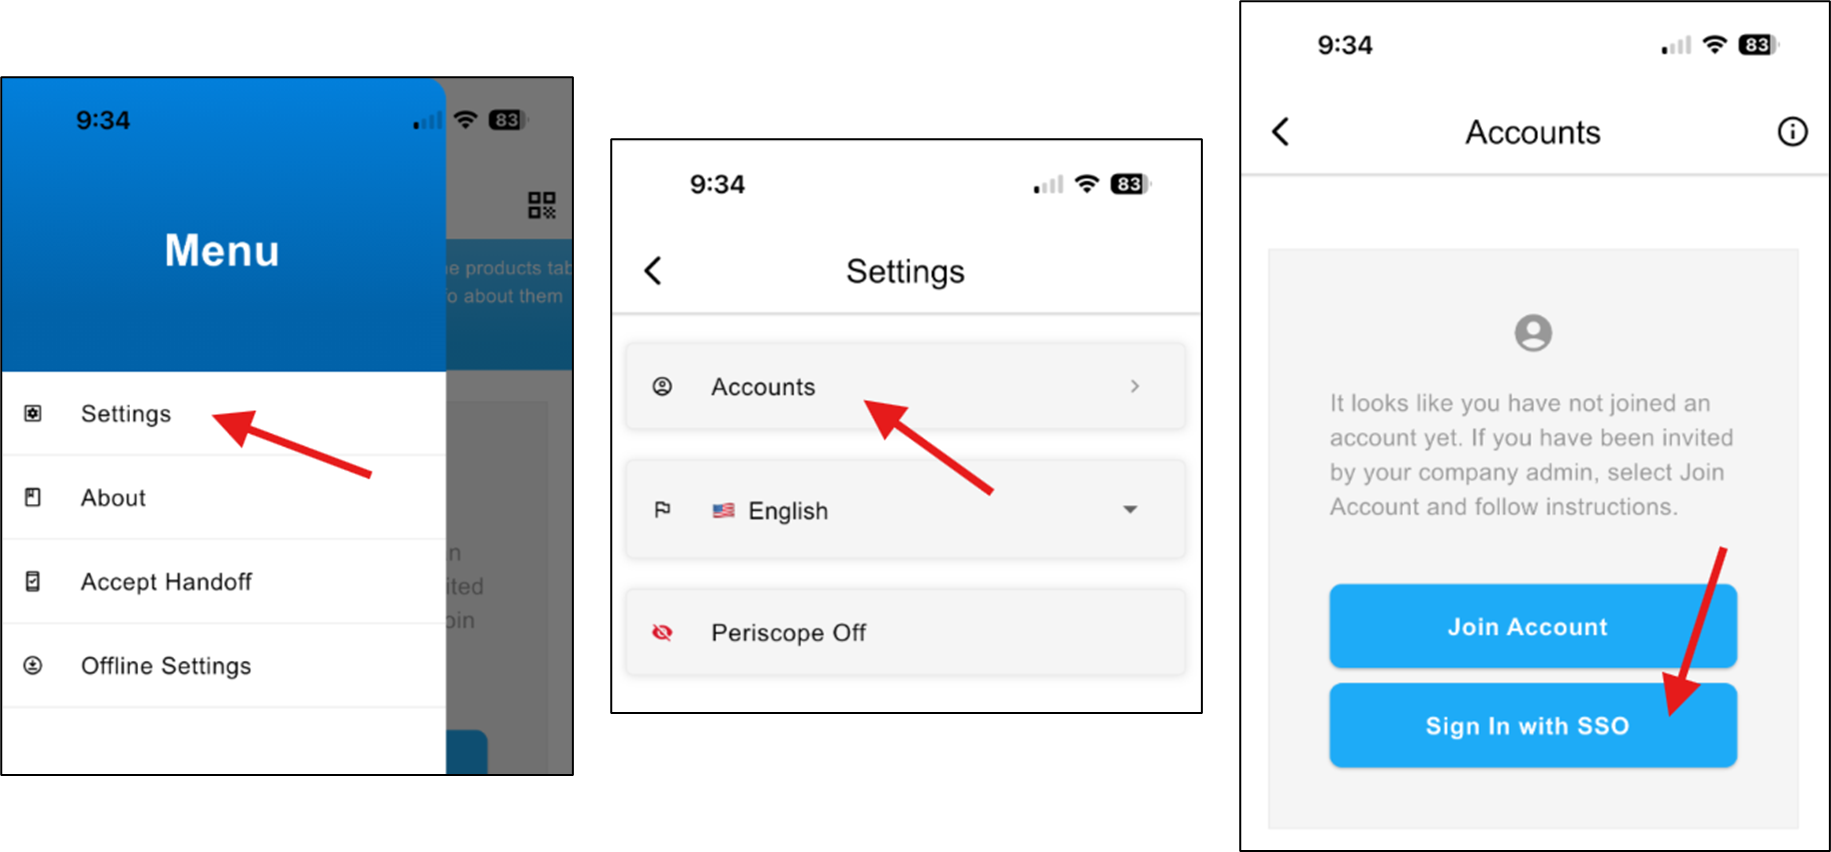
Using SSO (Mobile)
Login with SSO
Unlinking SSO

Updated about 2 months ago