Add New Copilot
Adding Copilots
Creating a new copilot is the first step in digitizing your organization's expertise. This process takes place within the Manage Portal, where you can choose between two convenient methods to start a new project.
Methods for Adding a Copilot
You can initiate the creation of a new copilot from the main dashboard using either of these two shortcuts:
-
Method 1: The Quick Action Button
Select the "+ Add New" button located in the top-right corner of the Manage Portal screen. This is the most direct way to start a new configuration.
-
Method 2: The Copilot Dropdown
Select the dropdown arrow next to the Copilot tab in the main navigation menu and choose "New Copilot" from the list.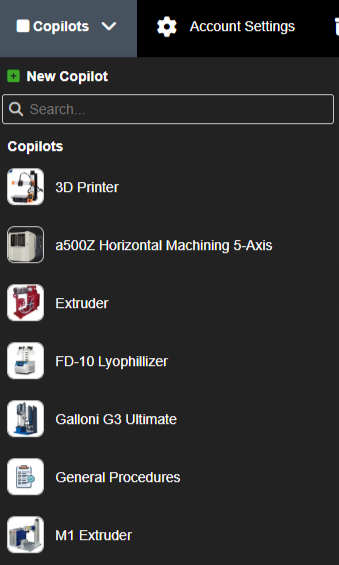
[Image showing the "+ Add New" button and the Manage dropdown menu]
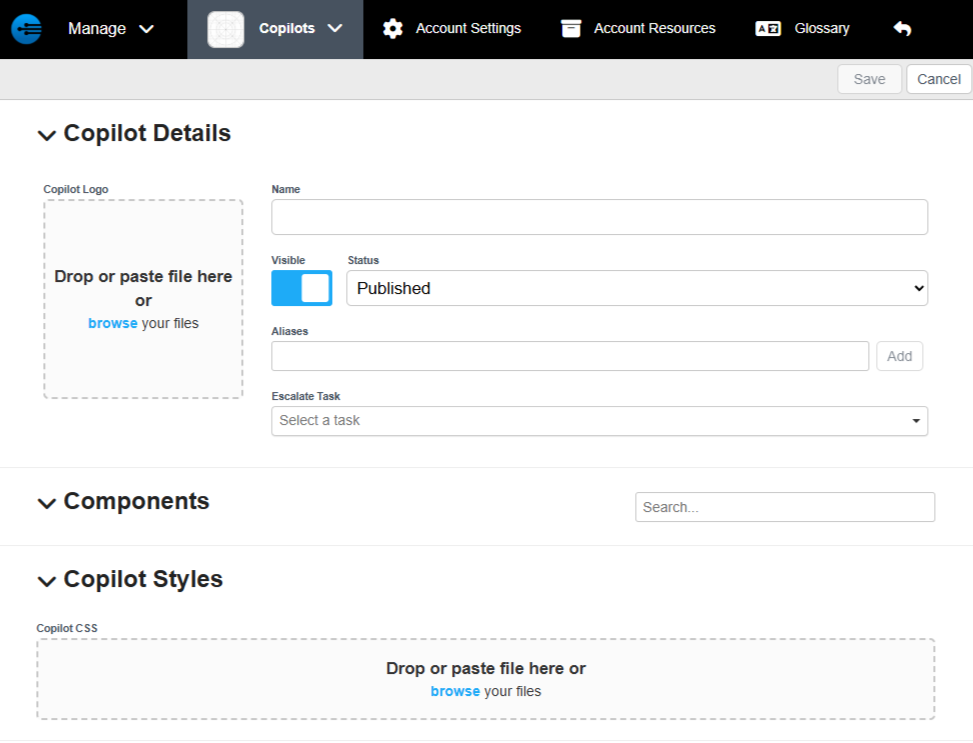
The Setup Screen: Defining Your Copilot
Once you select either method, you will arrive at the New Copilot Setup screen. Here, you will define the foundational identity of your AI assistant:
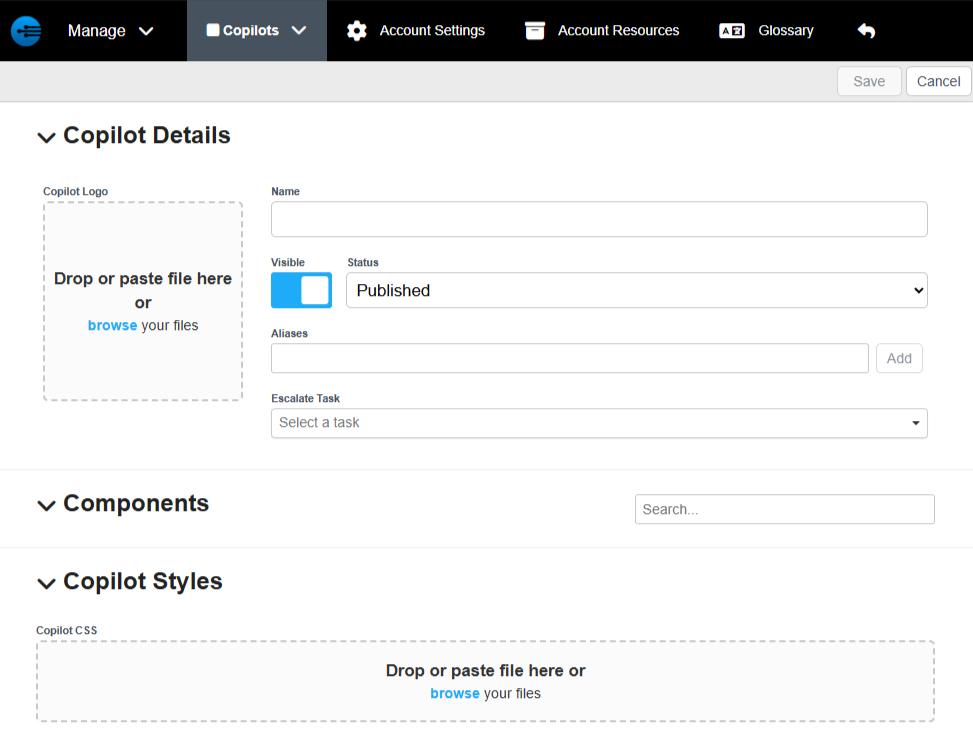
- Copilot Name: Enter a clear, recognizable name for the equipment or product line (e.g., "Cyclone-X Series Support"). This name will be visible to your end-users and technicians.
- Logo Upload: Upload a high-quality image or icon for the copilot. This helps users visually identify the correct assistant on the Product Page and within the mobile app.
- Equipment Details: Provide any necessary technical descriptors or categories that help organize this copilot within your broader fleet.
Finalizing the Creation
After entering the required information, select the "Save" button in the top-right corner of the screen. Your new copilot will now appear in your Manage dashboard, ready for you to begin adding Resources, Tasks, and GPT Configurations.
Updated 9 days ago