Using the Author Portal
The Author Portal: Developing and Testing Content
The Author Portal is a dedicated staging environment designed as a "sandbox" for the authoring team. It allows you to create, refine, and verify content in a safe space before it is deployed to live production environments and end-users.
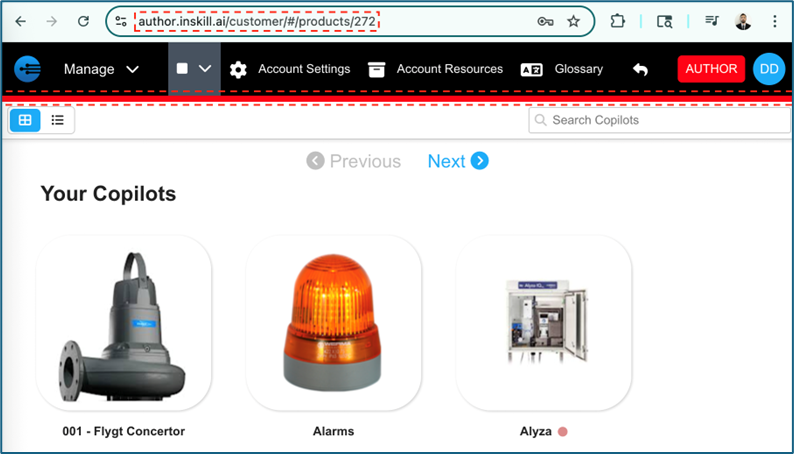
Identifying the Author Environment
To prevent accidental modifications to live data, the Author Portal is clearly distinguished from the production (Expert) portal:
- The URL: the web address will specifically denote the author server.
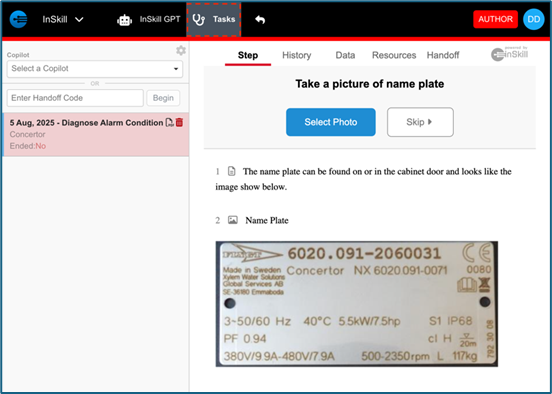
- The Red Bar: A prominent Red Navigation Bar at the top of the screen serves as a constant visual reminder that you are working in a staging area.
Editing and Managing Content
The Author Portal is initially populated by creating an exact copy of your production environment. Once active, it becomes the primary workspace for updating and refining your intelligence assets.
Core Authoring Capabilities:
Within this portal, you can create or modify the foundational elements of your industrial AI:
- Copilots: Adjust high-level settings and GPT configurations.
- Resources: Upload and manage the manuals, videos, and documents used as source material.
- Tasks: Build and edit interactive, step-by-step diagnostic procedures.
- Scripts: Develop custom logic for complex data retrieval or external integration.
- Solutions: Refine the "Gold Standard" answers used to ground the AI's responses.
Testing Your Content
Before pushing updates to production, you must verify the performance of two primary areas: GPT Interaction and Task Logic.
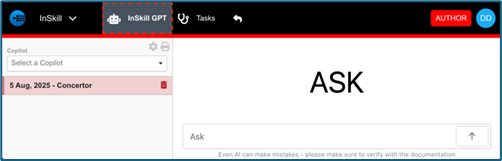
1. InSkill GPT Testing
When testing the GPT, simulate the real-world behavior of a technician in the field:
- Ask Natural Questions: Phrased queries should mirror what a user would ask under pressure.
- Verify Resources: Ensure the AI is accurately citing and pulling from the correct documents.
- Provide Feedback: If the GPT provides an incorrect or suboptimal answer, use the Comments or Thumbs Down feature. This specific action alerts the engineering team so the underlying issue can be addressed.
2. Task Logic Testing
Diagnostic tasks must be run through completely to ensure the workflow is technically sound:
- Dependency Check: Verify that "answer-dependent paths" function correctly. (e.g., If a user selects "Yes," does the next step reflect that choice accurately?)
- Escalation Verification: If you have implemented automatic escalations (such as creating a Salesforce or Dynamics ticket), trigger them during testing to confirm data is passing to the external system as designed.
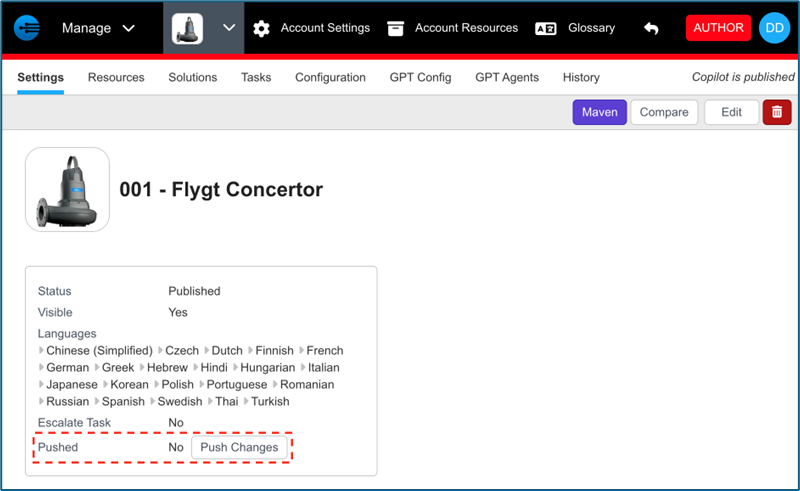
Pushing Changes to Production
Once your copilot has been optimized and verified, it is ready for deployment. Deployment is handled on a per-copilot basis, providing granular control over your release schedule.
Steps to Deploy:
- Navigate to the specific Copilot you wish to update.
- Select the Settings tab.
- Locate the information prompt under the copilot name and click the Push Changes button.
Upon clicking, the Expert (Production) server will be updated to match your current Author version. Your users will immediately have access to the updated content within the Expert Portal.