
Adding Steps to Tasks
Add and reorder steps, use the Info Only and Headless toggles, understand a step's tabs, and use the step menu.
A task is a tree of steps, shown on the left of the Authoring view. Each step is one thing the Technician reads, answers, or does.
Follow these steps to add a step:
-
Select the task's first, empty step and enter a Title that says what the step does. Click Save.
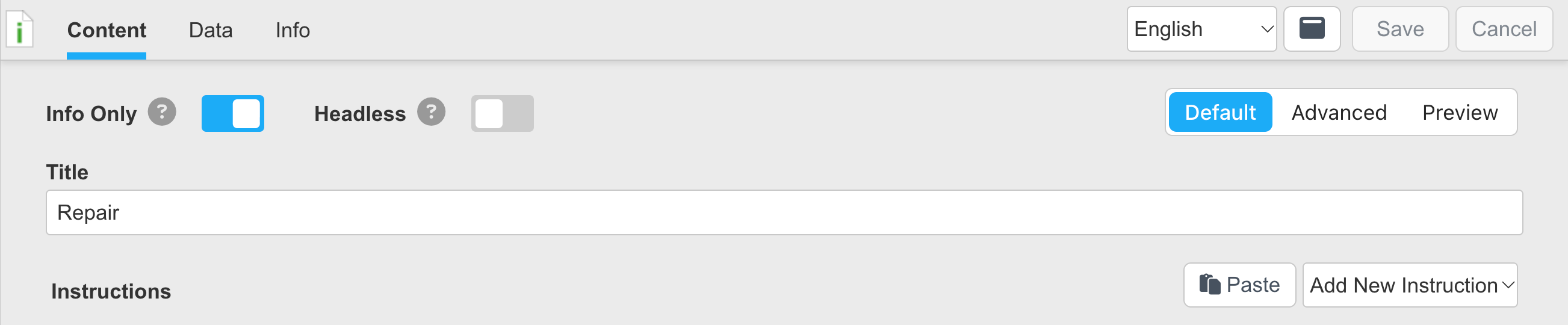
A step open on the Content tab
-
To add the next step, click + in the tree, type into the Title field, and press Enter — the step is saved and the next title is ready to type. Entering the whole task as titles first captures the outline of the work; the details come after.
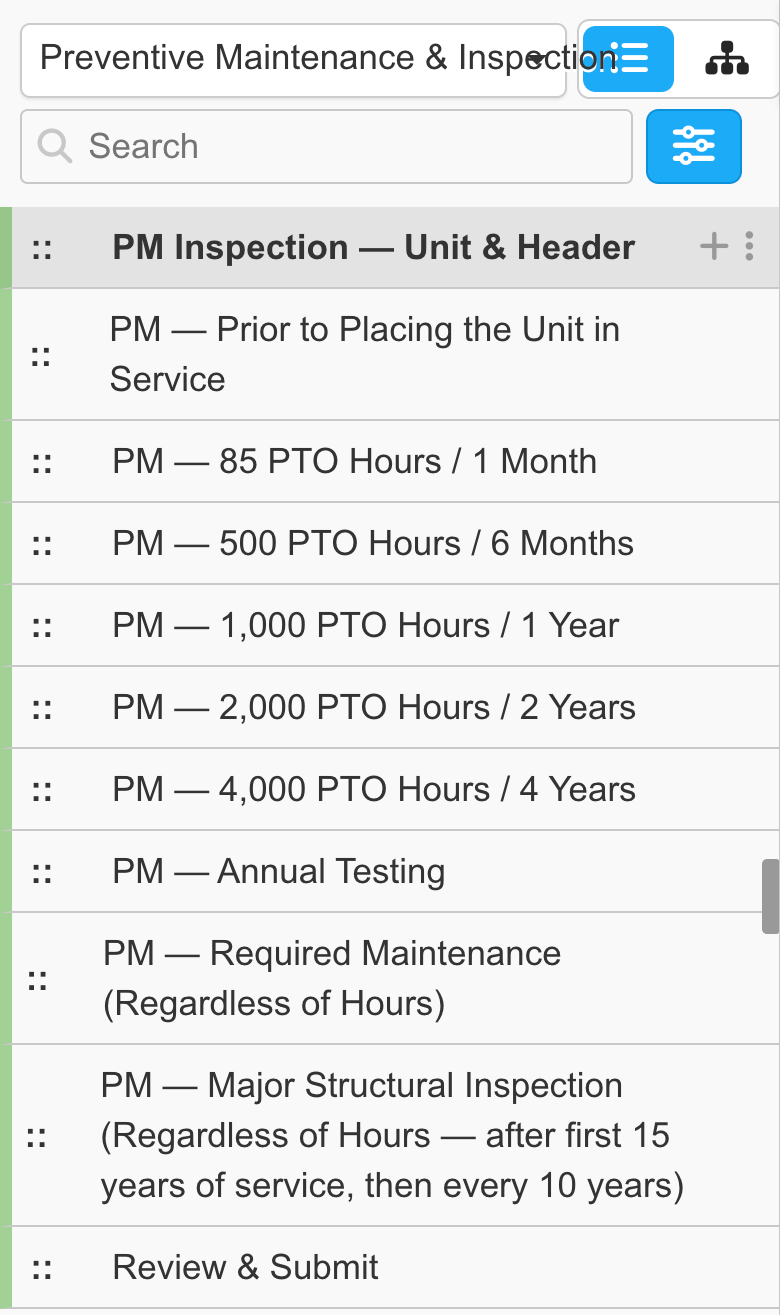
The step tree, with the + and step menu icons
To reorder steps, drag a step to its new place by the four-dot handle. Steps can be dragged within a branch or level, not between them.
Info Only and Headless
Two toggles at the top of the Content tab, in Default view, change how the step is presented:

The Info Only and Headless toggles
| Toggle | What it does |
|---|---|
| Info Only | Makes the step an information step: the Technician sees a Continue button instead of Finished / Not Solved. See Choosing the Step Type. |
| Headless | Hides the step title and the buttons and other elements the app and web portal normally show around a step, so the step's own content gets the entire screen. Use it for dynamic steps built in HTML that supply their own controls. |
A Step's Tabs
Everything else about a step lives in its tabs: Content holds the instructions the Technician follows, Data holds the feedback variables that make a step collect input, and Info holds the step's behaviors and metadata — see Configuring Step Attributes.
The Step Menu
The vertical ... menu on a step holds the management options:
- Delete — removes the step.
- Publish / Unpublish — an unpublished step is not used, and shows with a light red background and a dot.
- Copy URL — copies a link to the step. Large tasks are rarely written alone: send the link to another expert to fill in their part. They need an InSkill login, of course.
- Copy Step — copies the step to the clipboard as JSON, for Add New > Paste Step to recreate it elsewhere.
- Add New > Subtask — inserts a step that runs another task.
- Add New > Paste Step — inserts a copied step after this one.
Updated about 4 hours ago