
Setting Up Groups
How an account administrator creates user groups and subgroups, and the minimum setup a group needs.
An account administrator creates an account's first user groups. This page covers creating a group or subgroup and the minimum setup a group needs before its members can work in it.
Creating a Group
Follow these steps to create a group:
-
In the Admin portal, open the Groups tab. Until the account has a group, the tab reads No user groups yet.
-
Click + Add Group. To create a subgroup instead, select the parent group in the tree and click + Add Sub-Group.
-
Enter the Group name and, optionally, a Description, then click Create.
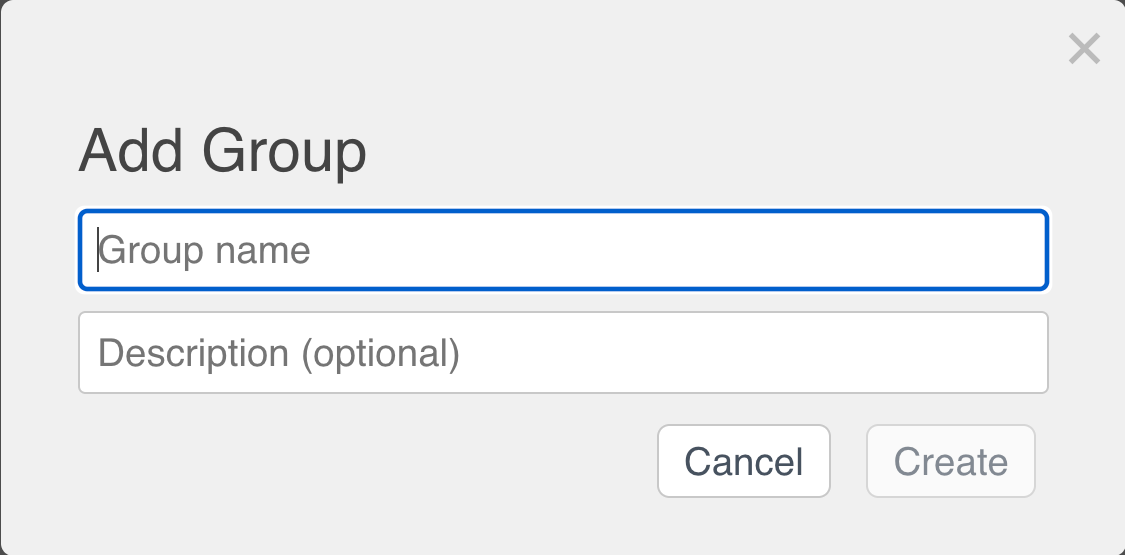
The Add Group dialog
Minimum Setup
For an existing account, each group can then add copilots, users, and customers on its group page. The minimum viable setup is one group with a member who holds the Group Administrator role. That person can then create the users and copilots that live within their group.
Updated about 7 hours ago